ESXi 업그레이드 방법은 여러 가지가 있는데 그중 한 가지 방법으로 진행했습니다.
esxcli 명령어를 이용해 업그레이드 패치를 설치하는 방법입니다.
업그레이드 진행 시 백업 후 진행 하세요.
1. 최신 패치 다운로드
- vmware patch 사이트
https://customerconnect.vmware.com/patch
Login | VMware Customer Connect
Customer portal login for VMware products including knowledge base, docs, communities, support, and training.
customerconnect.vmware.com

2023.06.04 현재 최신패치 VMware-ESXi-8.0U1a-21813344-depot.zip 파일입니다.
하드웨어 호환성 문제만 없다면 3번 설치로 바로 넘어갈 수 있지만..
랜 드라이버 문제로 2번 과정을 추가해야 했습니다.
혹시 ISO 이미지로 설치 및 업그레이드를 진행할 경우 Windows 환경에서 아래 깃헙의 스크립트를 통해 쉽게 진행 가능합니다.
https://github.com/VFrontDe-Org/ESXi-Customizer-PS
2. 네트워크 드라이버 준비
2.1 Community Networking Driver for ESXi
nuc7i5bnk 모델의 경우 내장 LAN으로 Intel® Ethernet Connection I219-V 를 사용하는데..
ESXi7 Update 3f 부터는 공식 이미지에 병합되어 있어서 더 이상 커뮤니티 드라이버를 사용할 필요 없어졌어요.
- 아래 URL 참고
Community Networking Driver for ESXi
Community Networking Driver for ESXi
This Fling is a collection of ESXi Native Drivers which adds support for various PCIe-based network adapters.
flings.vmware.com
2.2 USB Network Native Driver for ESXi
USB 유선 랜에 많이 사용되는 REALTEK의 여러 칩셋을 제공하는 드라이버로 외장 USB 허브와 랜이 딸려있는 제품을 사용하기 위해 아래 드라이버까지 설치가 필요했습니다.
USB Network Native Driver for ESXi
USB Network Native Driver for ESXi
This Fling supports the most popular USB network adapter chipsets found in the market.
flings.vmware.com
ESXi80U1-VMKUSB-NIC-FLING-64098092-component-21669994.zip 파일을 받아줍니다.
3. 업그레이드
(저는 이 글 참고로 필요한 부분만 진행하였습니다. 읽어보시며 도움이 됩니다.)
VMware ESXi 7.0 Update 3 on Intel NUC | virten.net
VMware ESXi 7.0 Update 3 on Intel NUC | virten.net
VMware vSphere ESXi 7.0 Update 3 has been released in October and before you start to deploy it to production, you want to evaluate it in your testing environment or homelab. If you have Intel NUCs or similar hardware you should be very careful when updati
www.virten.net
1, 2번에서 다운로드한 파일을 데이터스토어에 업로드해줍니다.

관리자 콘솔에서 유지보수 모두로 변경한 뒤 아래 과정을 진행해줍니다.
최초 설치할 때 추가 드라이버까지 설치했다면 DependencyError 오류가 뜹니다.
$ esxcli software vib install -d /vmfs/volumes/datastore1/patch/ESXi80U1-VMKUSB-NIC-FLING-64098092-component-21669994.zip

 [DependencyError]
 VIB VMW_bootbank_vmkusb-nic-fling_1.12-1vmw.801.0.0.64098092 requires vmkapi_2_11_0_0, but the requirement cannot be satisfied within the ImageProfile.
 VIB VMW_bootbank_vmkusb-nic-fling_1.12-1vmw.801.0.0.64098092 requires vmkapi_incompat_2_11_0_0, but the requirement cannot be satisfied within the ImageProfile.
 Please refer to the log file for more details.
기존 설치 된 VMKUSB-NIC-FLING을 삭제, ESXi 업그레이드 후 재설치 과정을 거치면 ESXi 8로 업그레이드가 가능합니다.
# vmkusb-nic-fling 삭제

$ esxcli software vib remove -n vmkusb-nic-fling

Removal Result
   Message: The update completed successfully, but the system needs to be rebooted for the changes to be effective.
   Reboot Required: true
   VIBs Installed:
   VIBs Removed: VMW_bootbank_vmkusb-nic-fling_1.8-3vmw.703.0.15.51233328
   VIBs Skipped:

# 참고한 블로그에서는 컴퓨넌트 까지 삭제 하라고 되어있었지만 제 경우는 설치 된 컴포넌트가 없어서 그런지 오류가 발생했고 그냥 무시하였습니다.

$ esxcli software component remove -n VMware-vmkusb-nic-fling
ESXi 업데이트
주의. 상대경로 지정은 동작하지 않음.
$ esxcli software vib install -d /vmfs/volumes/datastore1/patch/VMware-ESXi-8.0U1a-21813344-depot.zip
VMKUSB-NIC-FLING 설치
$ esxcli software component apply -d /vmfs/volumes/datastore1/patch/ESXi80U1-VMKUSB-NIC-FLING-64098092-component-21669994.zip
재부팅 후 버전 확인
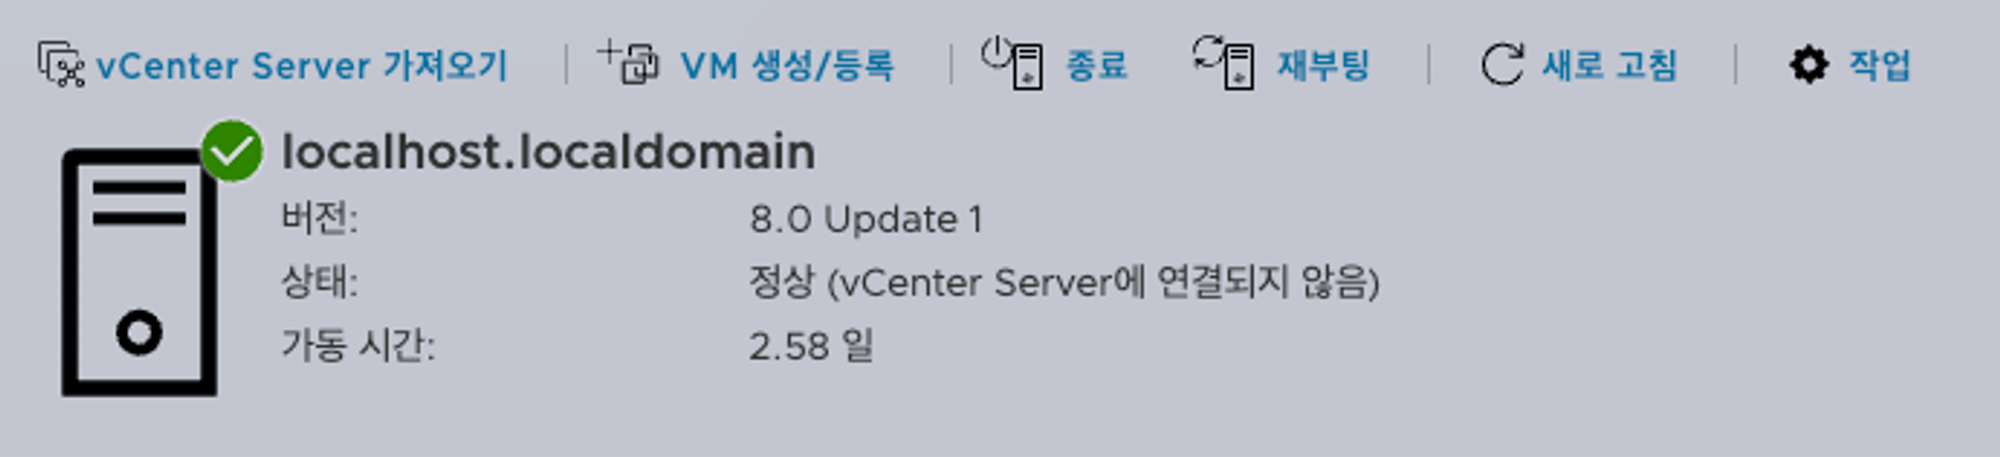
메이저 버전이 변경되었기 때문에 라이선스 갱신이 필요합니다.